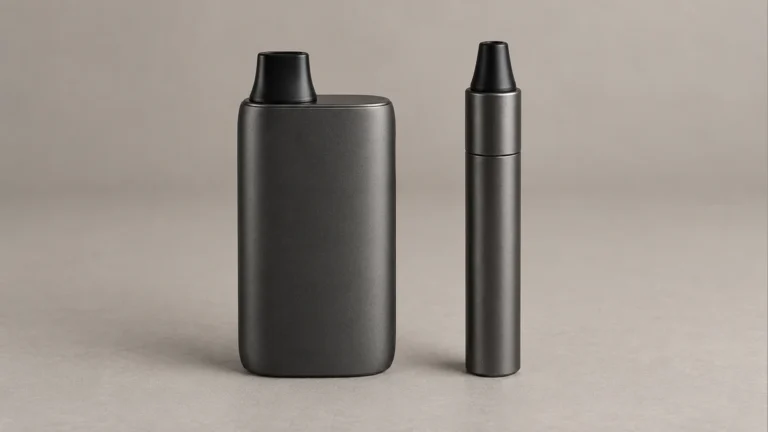
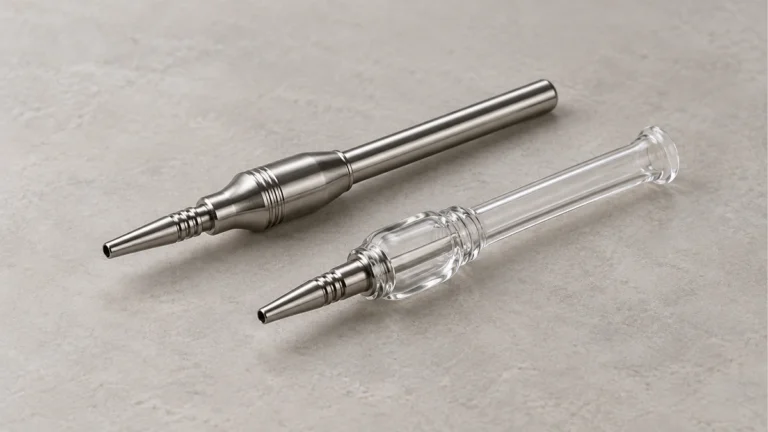
A metal nectar collector that develops a loose tip or a restricted airpath presents two different maintenance questions. One concerns how the parts are held together; the other concerns the hollow passage through them. Cleaning the outside will not secure a missing retaining clip, and tightening a connector will not remove residue inside the bore. Separating these symptoms is the quickest way to make sense of a small accessory that can otherwise seem frustratingly simple.
The phrase metal nectar collector can describe an all-metal body or a glass or silicone body with a metal working tip. It can also be confused with an electric nectar collector, which has an active heater and electrical parts. This guide focuses on the non-electric assembly and the practical questions raised in owner discussions: loose joints, hidden buildup, part access and cleaning. An electric device needs its own instructions and should not be treated as a hollow accessory that can be immersed as one piece.
🔧 1. Loose Tips and the Parts Holding Them
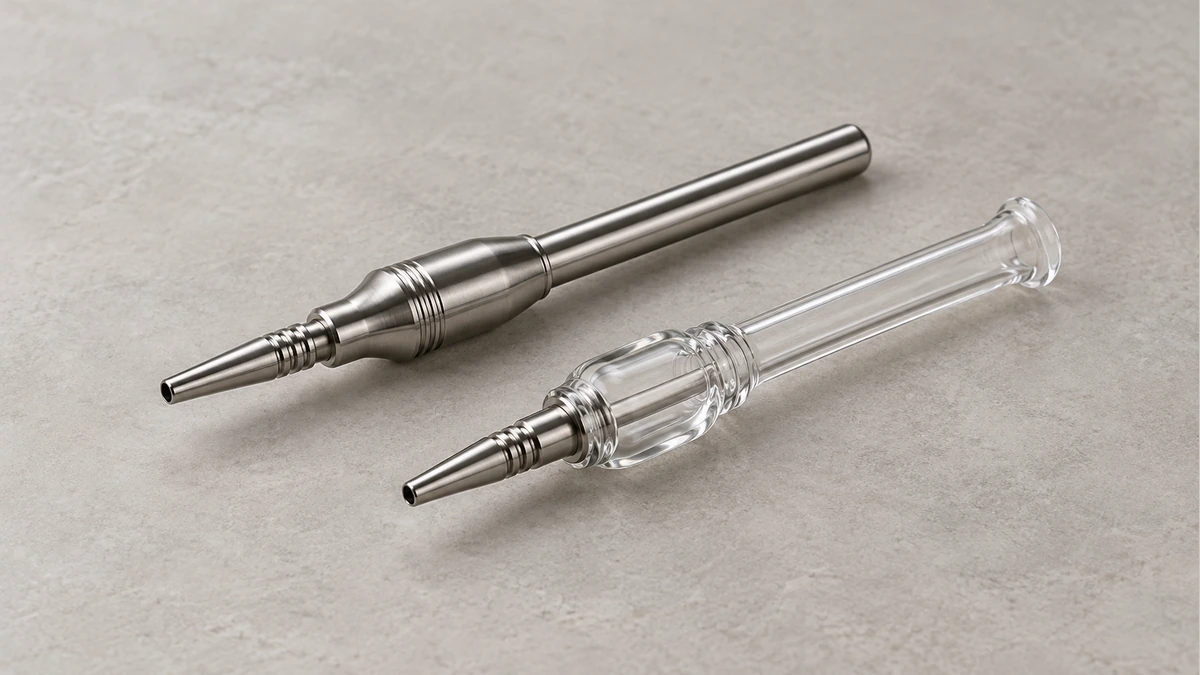
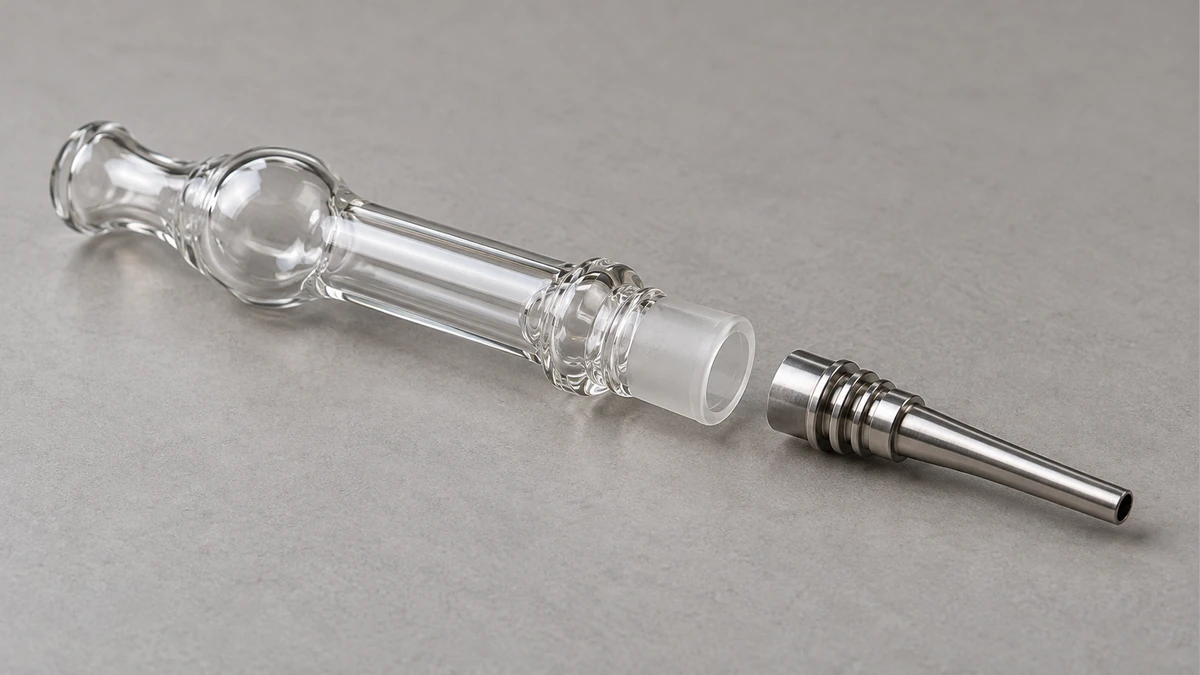
First identify what connects the tip to the body. Some designs use a threaded attachment, some use a tapered joint, and some add a retaining clip or another model-specific part. A joint that looks secure while resting on a table may still be missing its intended retainer. The useful inspection is of the complete connection, with the accessory cool, empty and separated only as its design allows. Look for the seating surface, any seal and the part that prevents the tip from separating. Do not assume that the visible metal tip is the only component involved.
A manufacturer’s titanium stinger page describes a tip core and connector as distinct parts. This provides a concrete example of a multi-part tip assembly, rather than a universal specification for every collector. In a Reddit thread about a tip repeatedly falling out, replies asked about the retaining clip. The useful lesson is to check the intended retention method before blaming the entire tool. The thread does not establish that all loose tips need a clip, and a clip intended for one joint should not be assumed to fit another.
🔩 1.1 Threaded vs tapered connections and why retention differs
Threaded and tapered attachments need different checks. On a threaded part, inspect for visible thread damage and make sure the pieces meet in their intended orientation. A connection that starts crooked should not be forced tighter. On a tapered attachment, examine the contact surfaces and any specified retaining component. A seal, if present, needs to match the original design and sit in its proper location. Not every taper uses an O-ring, and not every O-ring is a retention part. These distinctions matter because adding a random ring may change the seating depth without securing the tip. A visibly damaged connection calls for the correct replacement part or support advice, not increasing hand force.
If the tip remains loose after the parts are correctly seated, stop handling the assembled accessory as if it were secure. Check the maker’s assembly illustration against the actual pieces you have. A missing part, worn contact surface and mismatched replacement tip can produce similar movement. Do not use tape, an unknown adhesive or an improvised metal shim at the joint. Those additions can obstruct the airpath, conceal damage or prevent the connection from seating properly. A useful support description includes where the movement occurs: within the tip assembly, between connector and body, or at a removable mouthpiece.
🧲 2. Metal-tipped hybrid vs full-metal body
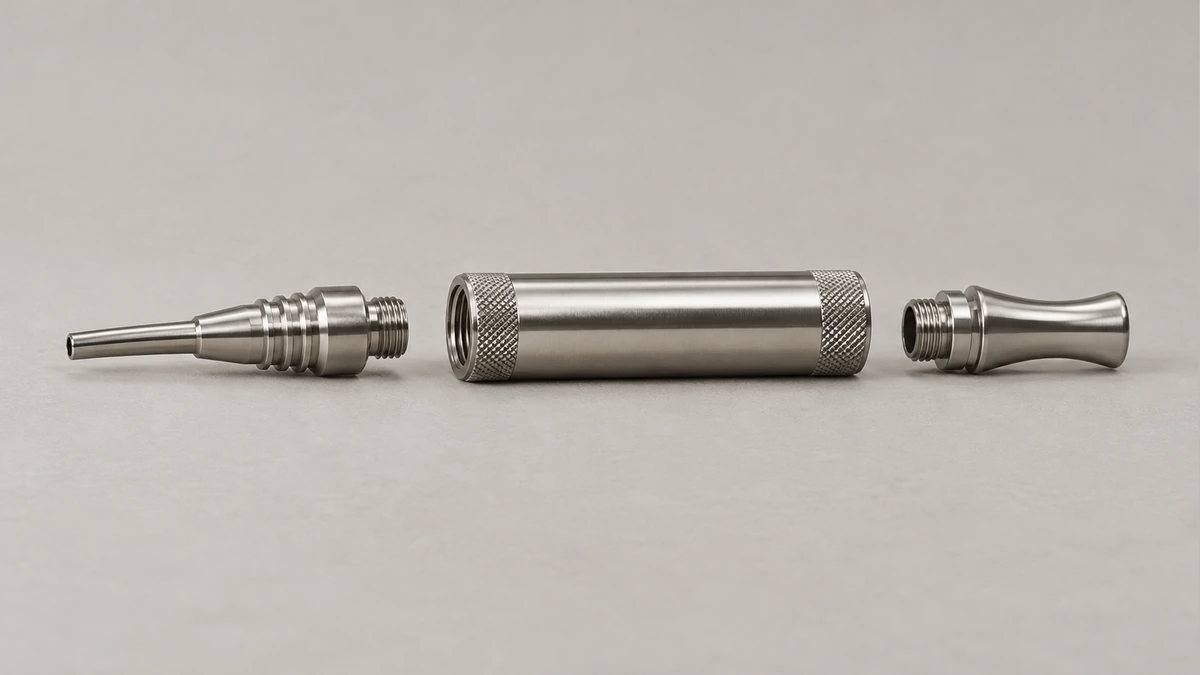
A metal-tipped hybrid and an all-metal body distribute their materials differently. A transparent glass section lets you see some of the interior, while an opaque body hides it. Silicone may form the body, an outer sleeve or a grip around another part; those are different constructions. Metal removes a glass wall at the places where it replaces glass, but it does not make every attached joint immune to damage. Identify the body, tip and mouthpiece separately before applying any material comparison to the complete accessory. That also helps determine which pieces the cleaning instructions actually cover.
Visibility is a useful maintenance feature, although it has limits. A glass section can show a film on an exposed wall while leaving the connector’s interior hidden. An all-metal tube needs another way to inspect its accessible openings after disassembly. Neither view confirms that every internal recess is clear. The practical question is whether a suitable brush can reach the passage and whether the intended removable parts expose its ends. A short body with an inaccessible bend may be harder to inspect than a longer straight one, despite the smaller size. Length alone does not describe cleaning access.
The glass dab straw guide explains the transparent-body layout, while the silicone nectar collector guide looks at flexible-body construction. Neither material name makes replacement tips universal. A metal tip used with a hybrid body still needs the correct joint dimensions and retention parts. Also separate a removable silicone sleeve from a silicone component that forms the actual passage: the first surrounds another part, while the second is itself a material-contact surface. Their cleaning access and permitted care may differ.
🌡️ 3. Titanium and Stainless Steel: A Limited Comparison
Titanium and stainless steel are material descriptions, not a complete specification for a tip. Geometry, wall thickness, alloy and the attachment design also matter. For a limited raw-material comparison, TIMET lists Grade 2 titanium density as 4.51 g/cm³, while Alleima lists 316L stainless density as 8.0 g/cm³. Equal volumes would have different masses. Actual tips may have different dimensions, so those values do not predict which complete accessory feels lighter, or how it performs in use. No flavor, durability or safety ranking follows from that density comparison.
For everyday maintenance, the fit and the accessible bore are more directly observable than an online material debate. A replacement tip needs the correct connection, and a brush needs room to pass through the intended opening without force. An unfamiliar surface change should be assessed on that specific part rather than explained away as a characteristic of titanium or steel. Keep the material name in its proper role: it helps identify the part and its permitted care, but it does not diagnose a loose joint or confirm the origin of a deposit.
🎨 3.1 Does the color of the metal prove it’s titanium?
Color alone cannot confirm what alloy a tip contains. A discussion about identifying a titanium tip includes guesses based on appearance, but those replies are not a material test. The same limitation applies to a photo of a discolored working end. For routine care, use the part’s actual specification and instructions rather than a color-based identification. Avoid scratch, burn or chemical experiments intended to identify the metal; they can damage the accessory without giving a reliable answer to the material question.
🕳️ 4. The Hollow Tip and a Restricted Airpath
A non-electric collector has a hollow passage through its working tip and body. Residue on that passage can reduce the clear opening, but an obstruction may also occur at a connection or removable mouthpiece. An exterior wipe therefore cannot establish that the inside is clear. Start by identifying the route through the parts and the places that are accessible when the assembly is separated. Do not push a hard object into a narrow opening to force a blockage through. It may damage the bore or move material into a recess that is harder to reach.
A newly restricted passage and a tip that has always had a narrow opening are different observations. If the resistance changed over time, inspect for residue, a displaced seal or a part seated incorrectly. If the accessory has always felt restricted, bore dimensions and the complete layout may be relevant. There is no general basis for saying every metal tip clogs faster than every glass straw. Opening size and geometry need to be compared independently of material. A clear-looking body also does not rule out a small obstruction at the connector.
🧼 5. Why the exterior grip and the inside bore need separate cleaning approaches
The exterior grip and the inside passage need separate attention. A cloth can reach the outside, the mouthpiece lip and exposed joining surfaces. It cannot reach a long internal bore. A properly sized soft brush may reach that passage if the accessory’s construction allows it. Keep the cleaning area organized so detached parts and small seals remain identifiable. Wiping the body while leaving residue inside a removable tip is an incomplete cleaning job, just as soaking the body cannot replace inspection of a visibly damaged joint.
A manufacturer’s cleaning guide describes separating removable pieces, cleaning the interior, rinsing and drying. Apply any cleaning liquid only where the actual accessory’s instructions permit it. A method described for glass does not automatically apply to a silicone section, a seal or an electric assembly. Separating the permitted removable parts gives access to surfaces otherwise covered by a joint. It also lets you inspect a cleaned part before putting it back, rather than assuming that a cleaner has reached every hidden space.
🧴 5.1 A simple routine that actually matches how the piece is built
A sensible routine follows the assembly. Let it cool, separate the intended removable parts and keep the small components together. Brush accessible loose debris away, then use the compatible cleaner and a suitably soft, narrow brush where permitted. Avoid forcing an oversized brush through a tip. Rinse as instructed and allow the pieces to dry completely before reassembly. Inspect the joining surfaces and confirm that the correct retainer is present. Fixed parts should remain fixed; a seam is not necessarily a disassembly point. An electrical body should receive only its device-specific cleaning method.
📏 6. Short vs long body handling, and what changes with mixed-material assembly
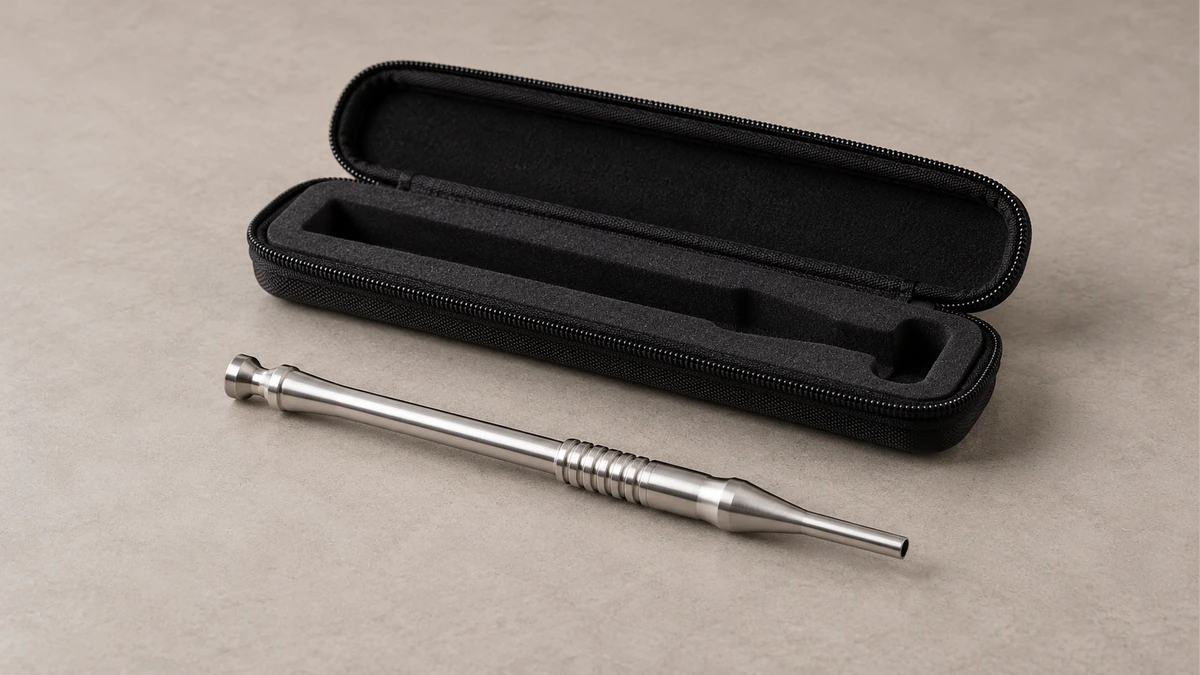
Body length affects reach, balance and storage, but the entire assembly determines how it feels. A longer tube may need more space in a case, while a short body can place a connector close to the grip. A protruding metal tip is vulnerable to being knocked sideways even when the body is securely held. Store the cooled accessory so its working end does not strike other parts, and do not pack it while cleaning liquid remains inside. A fitted case is useful only if the accessory actually fits without pressure on the joint.
Heat can travel through a solid from a warmer region toward a cooler one; OpenStax explains this as conduction. The material, dimensions and temperature difference affect that transfer. Body length alone therefore cannot supply a reliable cooling time or prove that a grip remains cool. Handle and clean parts only after they have cooled, following the accessory’s instructions. A mixed-material body should not be treated as an automatic thermal barrier, and an exterior sleeve does not eliminate the need to account for the metal tip and connector.
Different materials can meet at a single joint, but visible looseness should not be diagnosed from that fact alone. Retention hardware, seating surfaces and part compatibility still need inspection. The ceramic nectar collector tip guide discusses another tip construction; a ceramic replacement also needs its own compatible connection. Changing the tip material does not correct a damaged body joint. When arranging a repair or replacement, identify the exact interface that is affected rather than asking for a vaguely similar tip shape.
✨ 7. Odd deposits and material uncertainty — a short, honest answer
A thread describing white deposits and a color change shows another common concern: what is happening on the working end? Replies offer possible causes, but the thread does not establish the deposit’s composition. A photo cannot reliably distinguish all surface films or material changes. Do not burn off, scrape away or repeatedly reheat an unexplained deposit as an identification method. Document the clean, cooled part and ask for guidance tied to its actual material and construction.
If an unusual deposit persists or the surface appears to be deteriorating, keep the affected part out of service until it has been assessed. That is a part-condition decision, not a diagnosis of toxicity from a photo. A support request should describe where the deposit appears, whether ordinary permitted cleaning removes it, and whether the joint or bore is also affected. Those observations help distinguish an unexplained surface issue from the separate problems of a loose connection and an obstructed passage.
For a recurring problem, keep a short note of the actual symptom and the affected part. “Tip moves inside the connector” is more precise than “the collector is bad.” “Residue remains in the removable tip after wiping the outside” identifies a cleaning-access question. Once you distinguish the joint, bore and surface condition, you can follow the appropriate part-specific instructions without turning every fault into a general argument about metal versus glass.